Is any fuel better than charcoal to fire up a grill to make the most delicious barbeque? No, there is not.
However, charcoal is a fantastic source of energy. It has a stable burn and creates a relatively small amount of smoke.
Most people prefer charcoal as it creates the authentic signature smoky flavor associated with wood chips rather than a bacon-like flavor the gas grill produces.
Though charcoal takes longer to preheat, it is definitely worth it.
Though you could run to the store and purchase a sack of charcoal, why not make your own. It’s fun and extremely easy to prepare once you have the equipment on hand.
However, before we show you how o make charcoal, let’s discuss what charcoal is.
Contents
- What Is Charcoal?
- How Is Charcoal Made?
- Types of Charcoal
- Homemade Charcoal vs. Store-bought Charcoal
- What Does Store-bought Charcoal Consist Of?
- What’s the Difference Between Lump Coal and Briquettes?
- What’s the Best Wood To Make Charcoal With?
- What Do I Need To Make Charcoal?
- How Do I Get Charcoal Fast?
- How To Make Charcoal
- Final Thoughts
What Is Charcoal?
While you may know how to identify charcoal visibly, do you know what charcoal is or what it’s made from?
Charcoal is a black carbon residue resulting from heating wood or animal or plant materials.
This process is performed in an environment with little oxygen to remove all of the moisture and impurities.
How Is Charcoal Made?
Though it looks heavy, charcoal is actually lightweight. In fact, using a process called pyrolysis or charcoal burning, part of the material is used to start a fire along with its limited amount of oxygen to produce charcoal.
Though this is the standard process, there are multiple ways that charcoal can be produced. Traditionally the British used a clamp to prepare charcoal.
A clamp refers to a collection of wooden logs arranges in a circle against a chimney. The chimney itself is made up of four wooden stakes hoisted by a rope.
The wooden logs are engulfed in soil and straw to prevent oxygen from penetrating the clamp. The clamp is ignited by adding burning fuel into the chimney.
The logs are then allowed to burn slowly until they morph into charcoal.
In the event that the soil covering becomes damaged by the fire, more soil is added to reinforce the wall of soil to prevent air from seeping in.
When the pyrolysis process is complete, the chimney is cored to keep air from penetrating the chimney.
This clamp method requires a lot of skill as it requires you to maintain and produce an adequate amount of heat by burning a part of the wood supply in order to make charcoal.
As you can imagine, this method releases a large number of emissions such as methane that are poisonous to human health and harmful to the environment.
Therefore, this burning of wood material using traditional methods is relatively ineffective.
Furthermore, even though this method may have seemed like the best option back then, this process takes about 5 days to complete. In a modern world, life moves too fast to wait 5 days for charcoal.
In contrast, modern charcoal-producing techniques uses retorting technology.
Unlike traditional methods, retorting generates and maintains heat by burning gas emitted during carbonization.
Furthermore, retorting technology yields about 35%-40% more than traditional methods.
Ultimately the quality of the charcoal depends heavily on the wood that is being charred. In addition to this, temperature also plays an important role.
Charcoal has different levels of oxygen, hydrogen, ash, and other pollutants that work in tandem with the stricture to define the charcoal’s quality.
For example, charcoal uses to make gunpowder is composed using a formula known as C7H4O.
Quality charcoal consists large of carbon and is free of destructive compounds.
Types of Charcoal
There are many different kinds of charcoal. Ordinary charcoal is produced from coal, wood, peat, petroleum, and coconut shell.
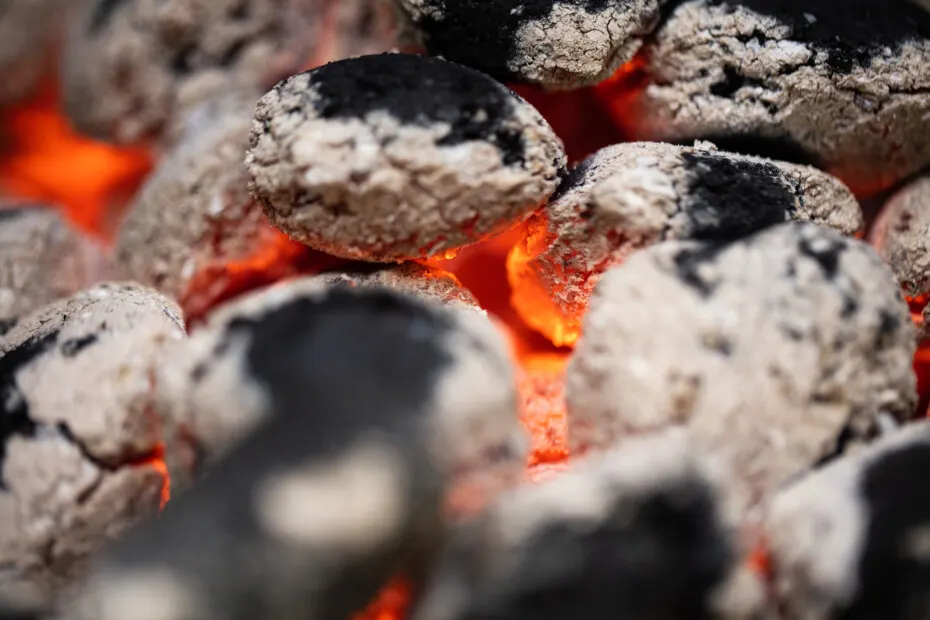
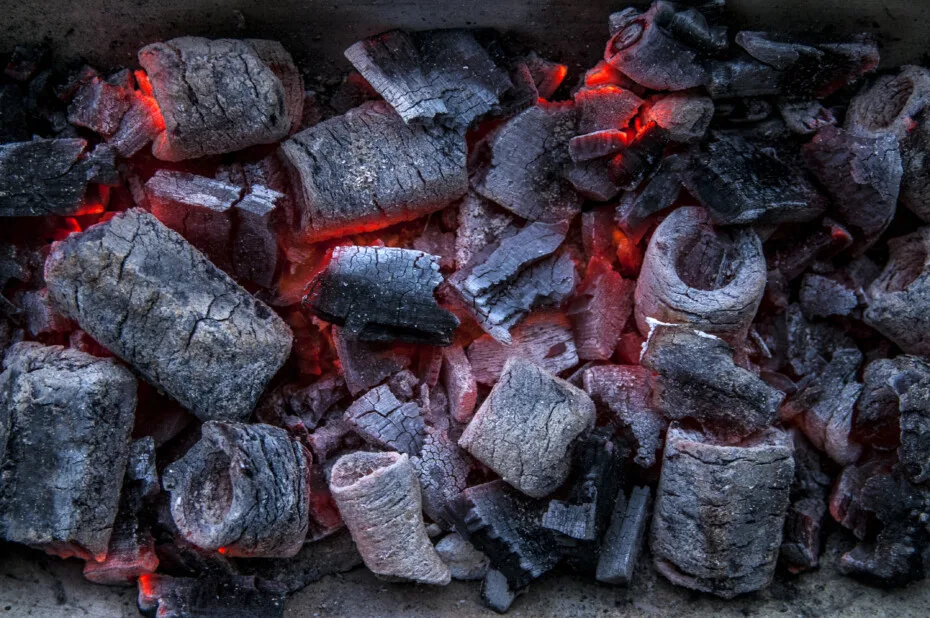
On the other hand, lump charcoal is age-old traditional charcoal generated from hardwoods. Lump charcoal creates less ash than briquettes.
On average, the most common briquettes are available in two forms: pillow-shaped briquettes and sawdust briquettes.
Pillow-shaped briquettes are produced by pressing charcoal made from sawdust, residual wood products, and a binder with starch and additives.
In addition to this, briquettes may also contain brown coal, mineral carbon, borax, sodium nitrate, limestone, raw sawdust, and other additives.
In contrast, sawdust briquette charcoal is created by pressing sawdust free of binders or additives.
This kind of charcoal is commonly used in countries such as Greece, the Middle East, Taiwan, and Korea.
Sawdust briquettes are produced with a circular hole in the middle along with a hexagonal intersection.
The unique thing about sawdust is it is odorless and generates no smoke, hardly any ash.
It produces high heat and burns for more than four hours, thereby making it perfect for BBQ.

Homemade Charcoal vs. Store-bought Charcoal
No matter which supermarket you shop at, lump charcoal will cost a pretty penny. Luckily, you can make your own charcoal.
The most significant benefit of homemade charcoal is that it is a cheaper solution to your problem.
The biggest drawback of homemade charcoal is it won’t burn as long as store-bought charcoal.
In contrast, store-bought charcoal burns so long because of all of the additives added during production.
Nevertheless, homemade charcoal allows you to know exactly what was used to produce it rather than reading additives on the back of the package that you can barely pronounce.
Homemade charcoal produces a cleaner burn that is less harmful to the environment than store-bought charcoal.
In addition to this, one batch of homemade charcoal produces a good quantity that will last you quite a while.
Even though some of the wood supply will be burned and decrease the initial supply of wood, it still produces more charcoal than you will find in a store-bought sack of charcoal.
What Does Store-bought Charcoal Consist Of?
Store-bought charcoal is bound to contain some form of additives. These additives are ingredients used to prolong the burning process.
The only way to avoid additives is if you purchase pure hardwood lump charcoal or 100% hardwood briquettes.
Binding agents such as molasses, starch, and sodium are used to help charcoal hold its shape, while sodium borate or borax is added to help solidify briquettes to prevent them from crumbling when they are unmolded.
Heat fuel materials such as nutshells, peat, tree bark, paper, and coconut shells may also be present in your charcoal.
Briquettes can also contain limestone as it acts as an ash colorant.
Charcoal can also contain sodium nitrate as it helps charcoal burn longer.
These oxidants are designed to produce oxygen when it is introduced to heat, which speeds up your charcoal’s burning rate.
What’s the Difference Between Lump Coal and Briquettes?
Unfortunately, there seems to be a war waging between lump charcoal enthusiasts and briquette lovers.
As with any debate, you should make sure you know the difference between lump charcoal and briquettes before choosing aside.
Lump charcoal is a by-product of wood burned in an oxygen-free environment produced to make charcoal.
Lump charcoal is in its pure, natural state, BBQ enthusiasts flock to this product.
Furthermore, lump charcoal’s profile is seriously attractive. Not only does it ignite quicker, but unlike briquettes, lump charcoal leaves a minimal amount of ash.
More importantly, lump charcoal is highly reactive to oxygen which gives the consumer more control by allowing them to control the temperature of the fire with the adjustable air vents.
In contrast, lump charcoal also burns less, costs more money, and contains some small charcoal bits that are relatively unusable.
On the other hand, briquettes are the processed foods of the BBQ world.
They are relatively inexpensive, more accessible, and you have virtually no idea what the ingredients are even though you’ve read the ingredients list.
Dissimilar to lump charcoal, briquettes are the result of residual wood by-products and additives that are pressed into a shape that still retains its lightweight mass and gives the consumer a stable burn.
One obvious drawback of briquettes is that they release a chemical odor.
However, this issue can easily be solved by allowing the briquettes to burn until they are engulfed in white ash before cooking.
This will prevent chemical smells from leaching into your food. Other disadvantages of briquettes include its takes longer to ignite, and it produces a lot of ash.
Though the briquettes profile may not be as appealing as lump charcoal, it has some quality benefits.
Briquettes create a consistent burn in addition to holding steady temperatures for extended periods of time.
What’s the Best Wood To Make Charcoal With?
It is best to make charcoal with hardwood. Woods such as fruitwoods, ash, oak, and walnut are excellent choices to make charcoal.
In addition to this, if you’ve got old shipping crates lying around, you can also use them to make charcoal.
Avoid softwoods such as cedar or pinewood at all costs. These woods will burn out faster than you can cook a burger patty or a hot dog.
What Do I Need To Make Charcoal?
Essentially, all you need to make charcoal is a supply of wood and a saw to cut it into logs.
In addition to this, you will also need a firebox such as a metal barrel with a lid and a dry place to store charcoal.
Burning material is also needed to create the fire. Most people use twigs, but you should also have a few pieces of paper to create a consistent burn.
Additionally, you also need gloves, a metal poker, and water to keep you safe from the heat and in case there are any fires that need to be put out.
Make sure you clean your barrel really well, especially if you are using a barrel that contained oil or other hazardous substances.
This can easily be done by quickly burning the barrel to get rid of the harmful contaminants.
How Do I Get Charcoal Fast?
Unfortunately, there is no fast method to make charcoal at home.
The quickest war to create charcoal is by burning wood in an industrial forge, which creates charcoal every second.
Since the average individual does not have access to an industrial forge, we have to make charcoal the long way.
How To Make Charcoal
The first step of making charcoal is finding an area suitable for building an outdoor fire.
Depending on the country or region you reside in, you may be able to create a fire in your backyard, or you may need to get a permit to build a fire away from residential areas.
Be sure to read your city ordinances on outdoor fires before building a fire.
- Cut your wood into pieces and start a fire in your barrel with twigs, paper, and a few pieces of hardwood to make your kindling. Making charcoal requires a solid fire to burn in the bottom of the barrel before any hardwood is added. It’s best to allow the kindling to burn for a while until you get a few coals and a good flame in the barrel.
- Once all of the hardwood has been added, allow it to burn until every piece of hardwood is on fire. Do not skip this step. It is essential because this allows all of the gas to evaporate.
- Additionally, this step also burns out the flammable components of the wood but leaves just enough flammable abilities to ignite when used to grill up some delicious BBQ. Allow your wood to burn until charring appears on its exterior.
- Making charcoal requires a lot of patience as there is no set time for this process from start to finish. It’s best to make charcoal in the afternoon while it’s still daylight, but the sun is not so hot that it will make you uncomfortable.
- When your wood has a slight char, it’s ready to move onto the next step. Place the lid onto the barrel. Lids can be tricky. It should fit snug enough to remain in place, but it should not create an airtight seal.
- This way, the lid is placed snug enough to allow the wood to smolder and extinguish its flame on its own. This is why it’s so pivotal to allow the wood to char almost completely.
- Avoid using the bucket of emergency water to extinguish the fire. If you extinguish the flame with water, you will not only destroy all of the hard work that went into making homemade charcoal, but you will be creating a giant mess in the bottom of your barrel.
- Let your wood smolder overnight. Ensure all of the flames are extinguished, and the wood is completely burned before unveiling your precious charcoal. Additionally, make sure the barrel is completely cooled before unsealing it.
- Removing the lid before the wood has completed smoldering would be introducing the wood oxygen. Oxygen will cause the embers to reignite and burn for a second time, so be patient and allow the charcoal to smolder.
- Once the charcoal has cooled, remove the lid, then remove it from the barrel and transfer it to an airtight container. Alternatively, you can also store it in a large plastic bag, pre-used charcoal sacks, or paper sacks.
- If you are not using the barrel the charcoal was produced in, you can also leave the charcoal in the barrel and remove portions of charcoal every time you fire up the grill.
- More importantly, you should also check again to make sure your wood is entirely out before storing the charcoal, especially if you are storing it in the barrel. Even though this seems like a given, without doubt, at least one of two of us can honestly say we’ve made this mistake.
- Not only will this destroy your entire batch of charcoal, but it will literally burn to ash. Furthermore, if you store charcoal in your house, it could be a potential fire hazard.
Finally, you’ve made your first batch of homemade charcoal. Now comes the easy part of using your charcoal.
The beautiful part about homemade charcoal is that it can be used just like regular store-bought charcoal.
The only drawback is it will not burn as long as briquettes or store-bought charcoal.
Final Thoughts
Nevertheless, homemade charcoal is still the best charcoal.
Not only is it 100% natural, but it is free of unknown additives and chemicals that could potentially be transferred to your food.
Now that you’re a master at making homemade charcoal, you will never go back to the store-bought stuff.
Get creative, invite your friends or family over and fire up some burgers or steaks on the grill.
You may need to add more charcoal or adjust you’re cooking times, but your labor of love will all be worth it once you are grilling up perfectly delicious BBQ.

I have been smoking and grilling meat from an early age and enjoy sharing my knowledge and expertise through the hundreds of articles I have written about BBQ. I hope to make everyone’s BBQ journey that little bit easier.

