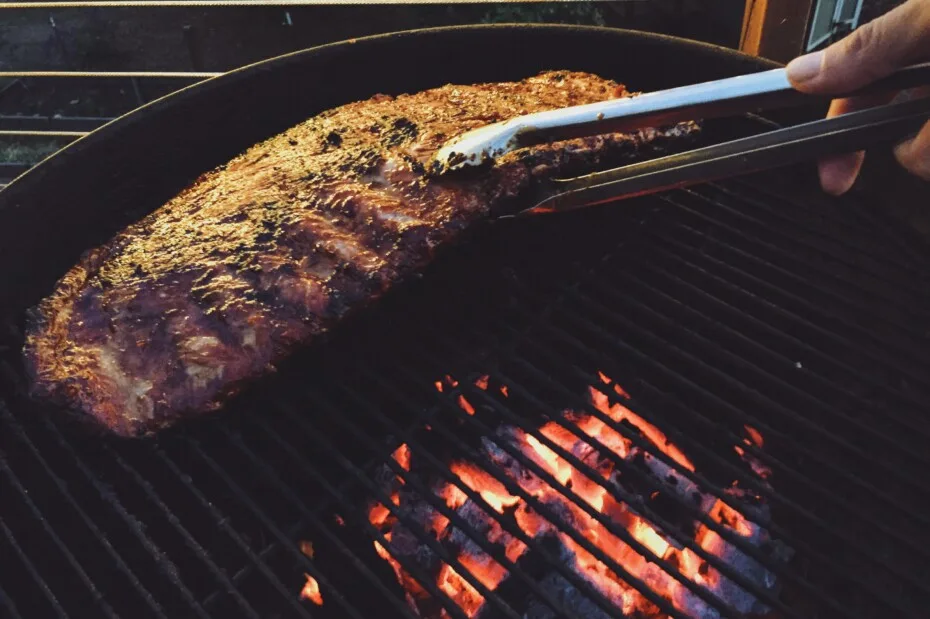
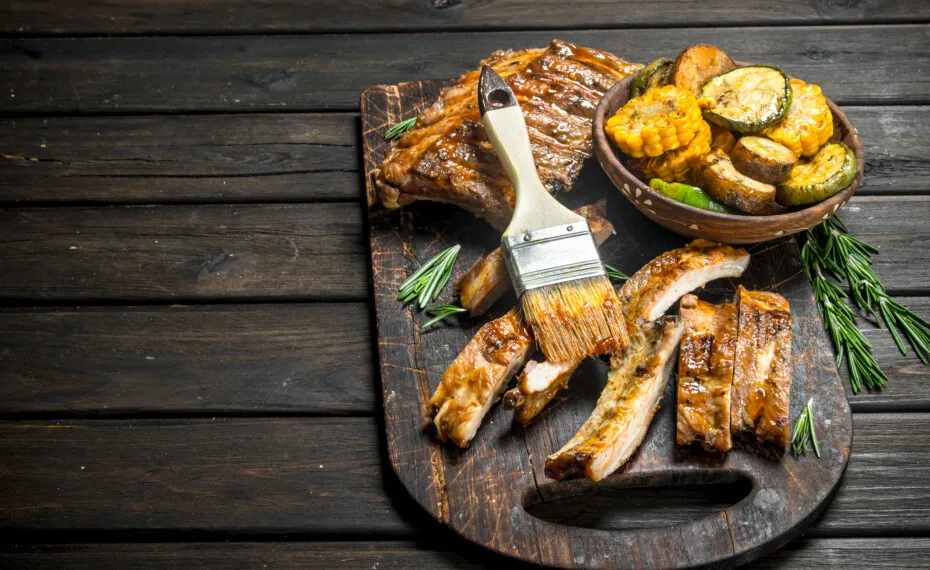
Perfectly cooked ribs are even more delicious than a freshly seared steak. But let’s be honest, cooking ribs is a difficult process.
Ribs are naturally a tough cut of meat. Cooking ribs at lower temperatures for extended periods of time yields the most tender ribs.
Now you’ve tasked yourself with reheating leftover ribs.
Although there is a chance you could dry out your ribs when done right, ribs can be restored to their former glory.
Contents
How to Reheat Ribs Without Drying Them Out
The secret to reheating ribs has nothing to do with heat and everything to do with storage.
Improperly stored ribs will result in dry, stringy fibers of meat instead of a moist and tender rib.
Whether you choose to toss your ribs into the refrigerator or the freezer, there are specific steps you need to follow to preserve as much moisture as possible.
Place your ribs in the fridge at your earliest convenience.
If meat or any food is allowed to sit at room temperature for more than 2 hours, it enters the temperature danger zone, which ranges from 40 °F and 140°F.
The temperature danger zone provides bacteria such as Staphylococcus, Salmonella, and E. coli with optimal conditions to rapidly multiply, putting you and anyone else who consumes the food else at risk for contracting a foodborne illness.
To store your ribs, portion them into single servings, then double wrap each portion with aluminum foil and place the ribs into a resealable freezer bag.
If your ribs are still warm, place them into a container with ice until the temperature falls below 40°F.
Once the ribs reach the correct temperature, place them into a shallow container and refrigerate them.
Tips for Reheating Ribs
Any form of cooking, reheating, refrigeration, or freezing will deplete your rib’s moisture reserves.
When reheating ribs, you must replenish the meat’s moisture reserves.
Your liquid of choice can be beef broth, beer, or coke soda for beef ribs and apple juice or apple cider vinegar for pork ribs.
Another key factor in reheating ribs is avoiding direct heat. The way the ribs were cooked is the way they should be heated lowly and slowly.
Once your ribs reach a temperature of 145 °F or above, it is safe to consume.
How to Reheat Ribs in the Oven
The oven is one of the easiest, most effortless ways of reheating ribs.
It’s as though you are replicating the way the ribs were originally cooked. Ribs are not the most tender piece of meat.
It consists of connective tissue that is transformed into a tender rib with time and patience. The same concept applies to reheating ribs.
Take the ribs out of the refrigerator at least 30 minutes before you plan to reheat them to ensure they reheat evenly.
Program your oven to 225°F. Lay a piece of aluminum foil onto a cookie sheet, then arrange the ribs in the middle of the foil.
Slather your ribs in barbeque sauce, leftover pan drippings, water, or broth, then tightly seal the ribs with the foil.
Wrap the ribs in another sheet of foil to prevent the liquid from escaping while the ribs are cooking.
Cook the ribs in the oven for 30 minutes until they are heated through.
How to Reheat Ribs on the Grill
Reheating ribs on the grill is definitely the most flavorful method. It gives them an extra dose of smokey flavor, allowing you to get dinner on the table in no time at all!
Program your grill to high and let it preheat while the ribs sit at room temperature for 30 minutes.
When the ribs are at room temperature, slather them with barbecue sauce, pan drippings, or water.
Wrap the ribs loosely with aluminum foil. Do not tightly wrap the ribs with foil.
Unlike the oven, grilling uses direct heat, so it’s best to loosely wrap the ribs to ensure the heat is distributed evenly.
Reduce the grill’s heat to medium and barbeque the ribs for 4 minutes. Flip the ribs, then cook them for an additional 4 minutes.

How To Reheat Ribs Using The Sous Vide Method
Sous vide is a French term that simply means under a vacuum.
Essentially food is placed into a sealed plastic or freezer bag and placed into a hot water bath until it is fully cooked.
If you vacuum seal your food, this is the perfect cooking method for you. Once the chill comes off of your food, you can place it in a stockpot full of water on the stove.
To reheat your ribs, fill your stockpot with water and heat it until it reaches a temperature of 165° F.
Place your ribs into a sealed bag, then add them to your pot. Cook your ribs in the hot water bath for 30-45 minutes until they are completely heated through.
If you are reheating frozen ribs, adjust your cooking time to 1 hour to an hour and 15 minutes.
How to Reheat Ribs in the Air Fryer
The air fryer is designed to use compressed hot air to duplicate the crispy texture of food fried in a deep fat fryer.
Air frying ribs create the most beautiful and delicious crust on the outside.
However, the air fryer is not designed to cook wet foods, which means this method only works for ribs coated with a dry rub.
Program your air fryer to 350°F. Cut your ribs so they can fit into your air fryer basket, then toss your ribs with a tablespoon of oil to prevent them from drying out and for added crispiness.
Place the ribs into the air fryer basket making sure to leave room between the ribs so air can circulate.
If you overcrowd your air fryer it hot air will not be able to flow, and your ribs will not heat evenly.
Furthermore, your ribs will not reach an internal temperature of 140˚F, making them unsafe to eat.
Air fry your ribs for 3-4 minutes, then check the temperature of the ribs using an instant-read thermometer.
How to Reheat Ribs in a Steamer
Heating ribs using a steamer an excellent way to retain moisture. You can even make your own basting liquid to add moisture and flavor to the ribs.
Take your ribs out of the refrigerator 30 minutes in advance before using this method.
Add a cup of apple juice to a large pot if you are reheating pork ribs. For beef ribs, use a cup of beef broth.
Arrange your ribs in a steamer basket, place the lid on the basket, and mount it over the pot. Steam your ribs for 25-30 minutes.
During the steaming process, do not remove the lid. This will allow the vapor to escape and decrease the pan’s temperature.
Additionally, every time the lid is removed, the rib’s cooking time is extended.
Once the ribs reach an internal temperature of 140˚F, arrange them on a serving dish.
Generously sprinkle the remaining apple juice or beef broth with your preferred seasonings, whisk to combine, and brush your ribs with the liquid.
You can also brush your ribs with your favorite barbecue sauce.
Reheating Ribs in the Microwave
Most people will not recommend reheating ribs or any other meat in the microwave because it drastically affects the food quality.
People usually use the microwave to reheat food because it’s the quickest and easiest route to satisfying their hunger.
However, microwaves have become notoriously renowned for heating food unevenly and removing the moisture from food.
If you do not have time to use one of the other methods to reheat your ribs, there are a few tricks you can use to preserve the moisture content of your ribs and heat them evenly.
Moisture is paramount when it comes to reheating any meat. If there is no moisture, expect a tough, chewy dry piece of meat.
The easiest way to add extra moisture to your ribs is to drench two paper towels in water, squeeze the excess water out, then place one paper towel beneath your ribs container and lay the other over it.
The microwave’s heat converts the water in the paper towels into vapor, allowing your ribs to remain deliciously moist and juicy.
Additionally, the paper towels will prevent fat and barbecue sauce from spilling all over your microwave.
To reheat your ribs in the microwave, cut your ribs into smaller portions and place them inside of a container. Do not place the lid on top of the container.
Place one damp paper towel underneath the bowl and the other on top of the ribs.
Microwave the ribs on medium power for 2-3 minutes until the ribs’ internal temperature reaches 140˚F.
You might also be interested in:

I have been smoking and grilling meat from an early age and enjoy sharing my knowledge and expertise through the hundreds of articles I have written about BBQ. I hope to make everyone’s BBQ journey that little bit easier.

