Food is exciting in general, but there’s something about sitting at a table with family and friends laughing, talking, and most importantly, eating a juicy slice of turkey that warms my heart.
But how does one carve a turkey? No matter how delicious the turkey, looks are everything.
We are bombarded with pictures of perfectly carved turkeys on social media every year from celebrity chefs and culinary enthusiasts.
Achieving the perfectly carved turkey starts with understanding the history of the turkey.
Contents
Where Did Turkeys Originate?
Today’s domestic turkeys, are descendants of the Meleagrisgallopavo, commonly known as Wild Turkey.
This particular breed of turkey was indigenous to America.
Turkeys were imported from the Americas to Europe and Asia during the 1500s by Spanish traders.
Allegedly these domesticated fowls received their name because the European trade routes ran through Turkey.
Turkey quickly rose to stardom, knocking other delicacies such as stork, herons, and bustards out of the race for the most popular food.
Eventually, the English migrated to America and were astonished to find these delicious birds had not been domesticated.
With a diet of native chestnuts, beechnuts, walnuts, turkeys provided a tremendous amount of revenue for the colonists.
Now that you know the history of the turkey, let’s move on to carving the turkey.
How Long Should the Turkey Sit Before Carving?
Pulling a beautifully roasted out of the oven can make you want to dive right into it. However, do not be blinded by temptation and cut into your turkey right away.
I get you’ve got a crowd of hungry people to feed. However, a turkey should never be carved straight out of the oven.
If you carve the turkey right away, you will lose all of the moisture you worked so hard to create.
While the turkey is resting, the juices are redistributed into the meat rather than escaping the turkey.
Always remember to let your turkey rest at least 20-30 minutes before carving.
This will allow the juices to remain in the meat instead of on your cutting board.
Some people also believe the turkey will get cold if they wait 20-30 minutes to carve the turkey.
However, the turkey will still be piping hot even if you wait to cut it 30 minutes after it’s been cooked.
Do You Cut Turkey Breast With or Against the Grain?
Most people are not aware of what cutting meat against the grain actually means. Cutting against the grain references meat or poultry.
Poultry and meat have long filaments of muscle fibers running through the meat.
Cutting against the grain or the muscle fibers lessens the muscle fibers creating a tender slice of meat that melts in your mouth.

Tips For Carving A Turkey
Carving a turkey can seem intimidating. However, carving a turkey is fairly easy once you get the swing of it.
As long as you use these carving tips, your turkey carving journey will be that much easier.
Carve Your Turkey in a Well-lit Room
Some kitchens do not have the best lighting. Unfortunately, some kitchens may only be limited to one light or window.
Turkey day occurs in the fall, which means by the time we get around to carving the turkey for the feast, it already late in the day.
If your kitchen is not well-lit, you may not be able to see what you are doing.
You may accidentally cut the wrong section of the meat or, even worse, cut your finger.
Never Carve Your Turkey at the Table
I know you want to show off your gorgeous turkey as long as possible before cutting into it, but do not carve your turkey at the table. Turkey carving is a messy business.
Carving the turkey at the table will ruin your beautifully decorated table. Crave your turkey in the kitchen.
You can also take pictures of the turkey and show off your turkey to your guest before carving it.
Use a Large Cutting Board
Large cutting boards give you more room to work with. Additionally, use a large cutting board with grooves in it.
The grooves will house the juices making the process of carving the bird cleaner.
Use a Sharp Chef’s Knife
Contrary to popular belief, dull knives are more dangerous than sharp knives.
With a dull knife, you use more energy to cut through the food, which makes it easier for the blade to slip and cut you.
Before you carve your turkey, use a honing steel to sharpen your knife. Sharp knives keep the turkey’s skin intact in addition to making the carving experience safer.
Dull knives require you to saw the turkey to cut it into pieces. Therefore, you will be butchering the meat and the skin.
Although many people believe carving knives are the ultimate tool for carving, a chef’s knife is a hundred times better.
A chef’s knife gives you more control which is key if you want to carve your turkey successfully.
Cut Away From Yourself
Although this is a standard rule of the kitchen, it still needs to be said.
At one time or another, most of us have put our hands underneath the slice of turkey to catch it and prevent it from falling.
Always keep your free hand away from the knife and on the opposite side of the bird.
Use a Pair of Tongs
Tuning forks poke holes in your meat, allowing more juices to escape. Tongs allow you to preserve the turkey’s juices, and they make it easier to serve the turkey.
Do Not Flip the Bird
Most people learn to carve poultry by flipping the bird upside down to remove the legs. However, if you flip the bird, the breast’s skin may get soggy.
Always keep your turkey breast-side up while it’s resting to retain the beautifully crisp skin.
Cut Thick, Not Thin
Carve thick slices of turkey. Leave thinly sliced turkey to deli meats. Thicker pieces of turkey are not only beautiful, but they make the perfect leftovers.
Whether it is soup, salad, or a sandwich, thick slices of turkey will take your dish to the next level!
How Do You Carve a Turkey Like a Pro?
What’s the secret to carving a turkey like a pro; there is no secret to carving a turkey. Craving a turkey is something you learn to do through trial and error.
While there are some basic guidelines you should follow, every carving experience is different. There’s no such thing as the art of carving a turkey.
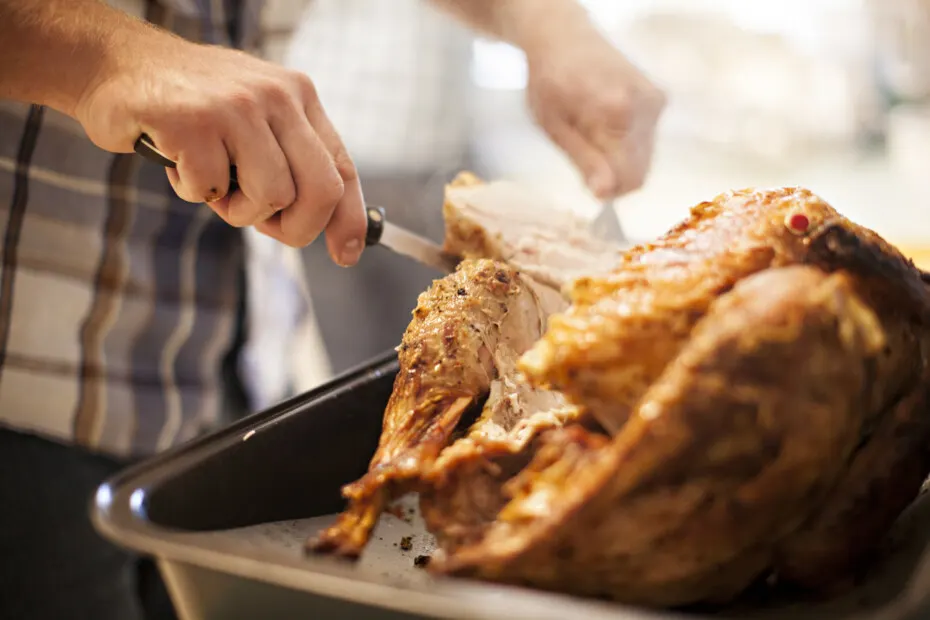
To carve your turkey, start with the thigh and legs.
Cut the portion of skin between the thigh and leg to detach the leg from the carcass.
Tug the leg in the opposite direction of the turkey, then slice the joint, running the knife along the body, tilting the blade near the bone as you cut the bird.
Next, move on to the white meat. Detach the wing and separate the wingette from the drumette.
To remove the breast, make a long deep incision flush against one side of the breastbone following the curvature of the bone.
Carefully separate the meat from the bone with the knife. Once the breast has been removed from the bird, slice the breast against the grain.
For the dark meat, jiggle your knife between the thigh and leg meat until you locate the joint.
Cut through the center of the joint, then remove the bone from the thigh and flip it skin side up and slice it.
Decorate Your Bird
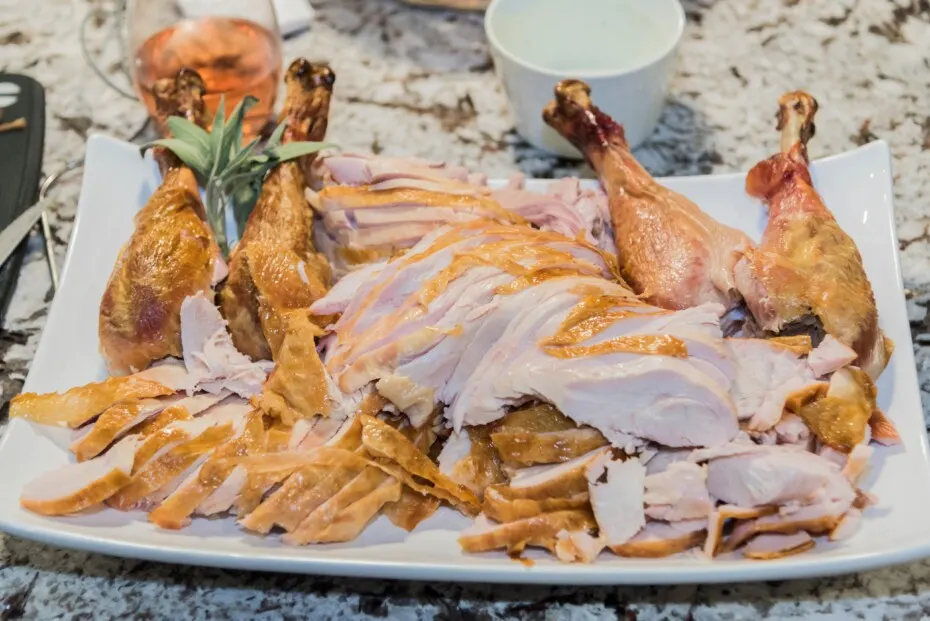
After you finish carving your turkey, place it on your most beautiful platter.
Arrange the breast meat in a spiral around the dish’s perimeter, then place the legs and wings in the center.
Fill in the remaining space with fresh oranges, lemons, cranberries, and rosemary, and your bird is ready to hit the table.
Final Thoughts
Carving turkey doesn’t have to be so complicated; it’s an easy process if you follow these guidelines.
In the end, your turkey will look fabulous. It will be comparable to that of celebrity chefs.
Not only will your guest be amazed, but there will be the perfect meat-to-skin proportions in every slice. Don’t be afraid of your turkey.
As long as you’ve got a sharp knife, you can carve a turkey!

I have been smoking and grilling meat from an early age and enjoy sharing my knowledge and expertise through the hundreds of articles I have written about BBQ. I hope to make everyone’s BBQ journey that little bit easier.

